Keyboard build - Part six - Case and key caps
Nearly in the home straight now, just the putting the keyboard into the case and adding the key caps to go.
Plate blockers
Before fitting the key caps to the keyboard I wanted to put a couple of plate blockers into the gaps on the function key row. I bought these in two profiles from kbrepublic as the cost is fairly low (and the wait for AliExpress shipping can be a while) and I wasn’t sure which I’d prefer. Now annoyingly these don’t come with a washer so I had to make some from thin Plasticard I had, while crude they should stop the aluminium blocks from shorting out the key positions. The supplied nylon screw fits nicely through the MX switch hole.
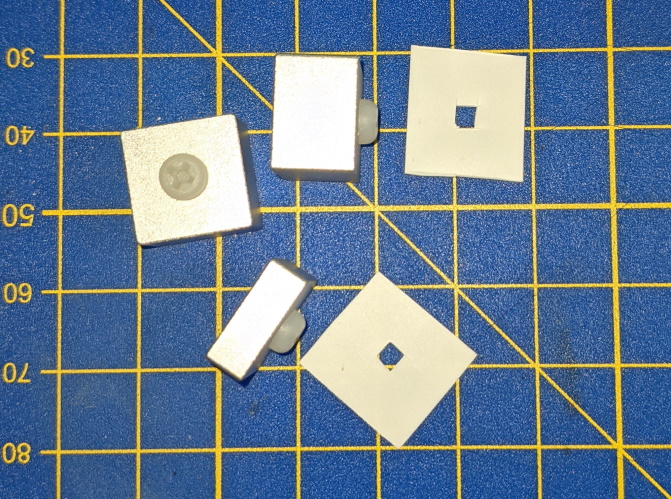
Both profiles of plate blocker with Plasticard washer.
Installing in the case
So after a check that all the lights work and the washers are doing their job it’s time for the final touches.
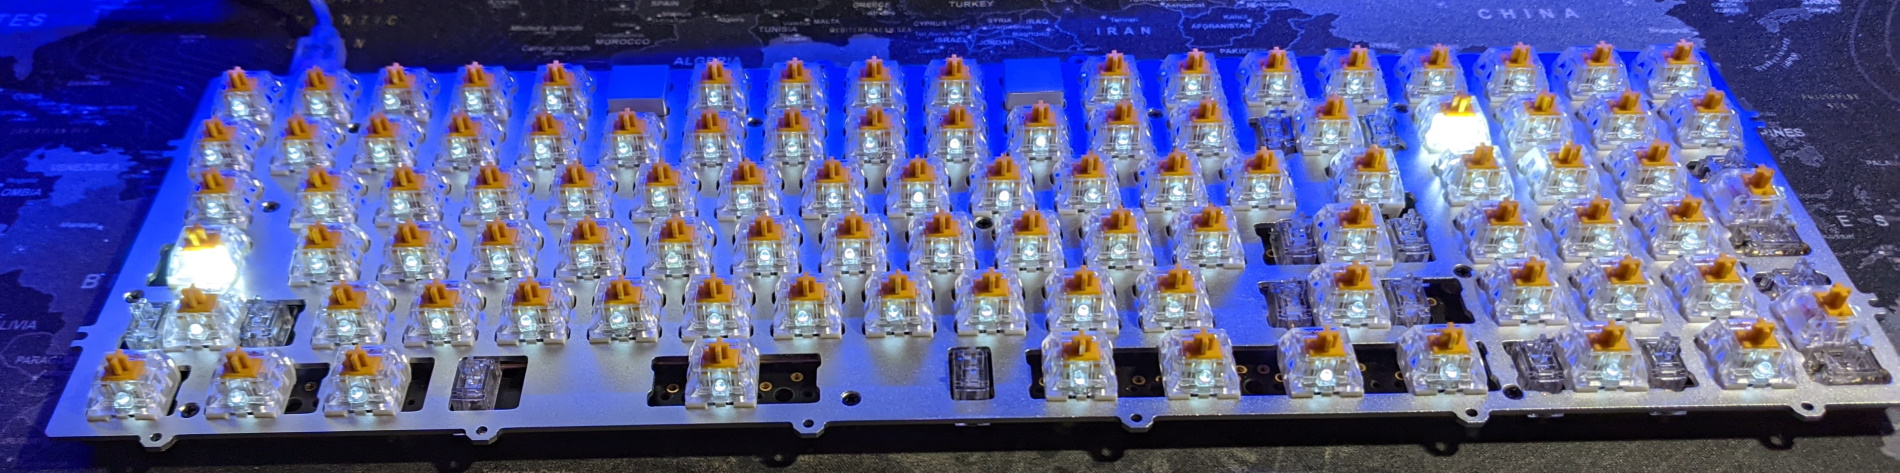
Lights are on and we’re ready for the case.
So with a phillips #1 screwdriver again I removed the two countersunk screws that held the perspex plate on the back of the case during shipping, placed the keyboard into the case and got busy with the roundhead screws (enlarged in the picture below) fixing the plate to the top. I used a pair of tweezers to get some of the screws into position as doing it by hand was a little fiddly particularly around the USB C connector.
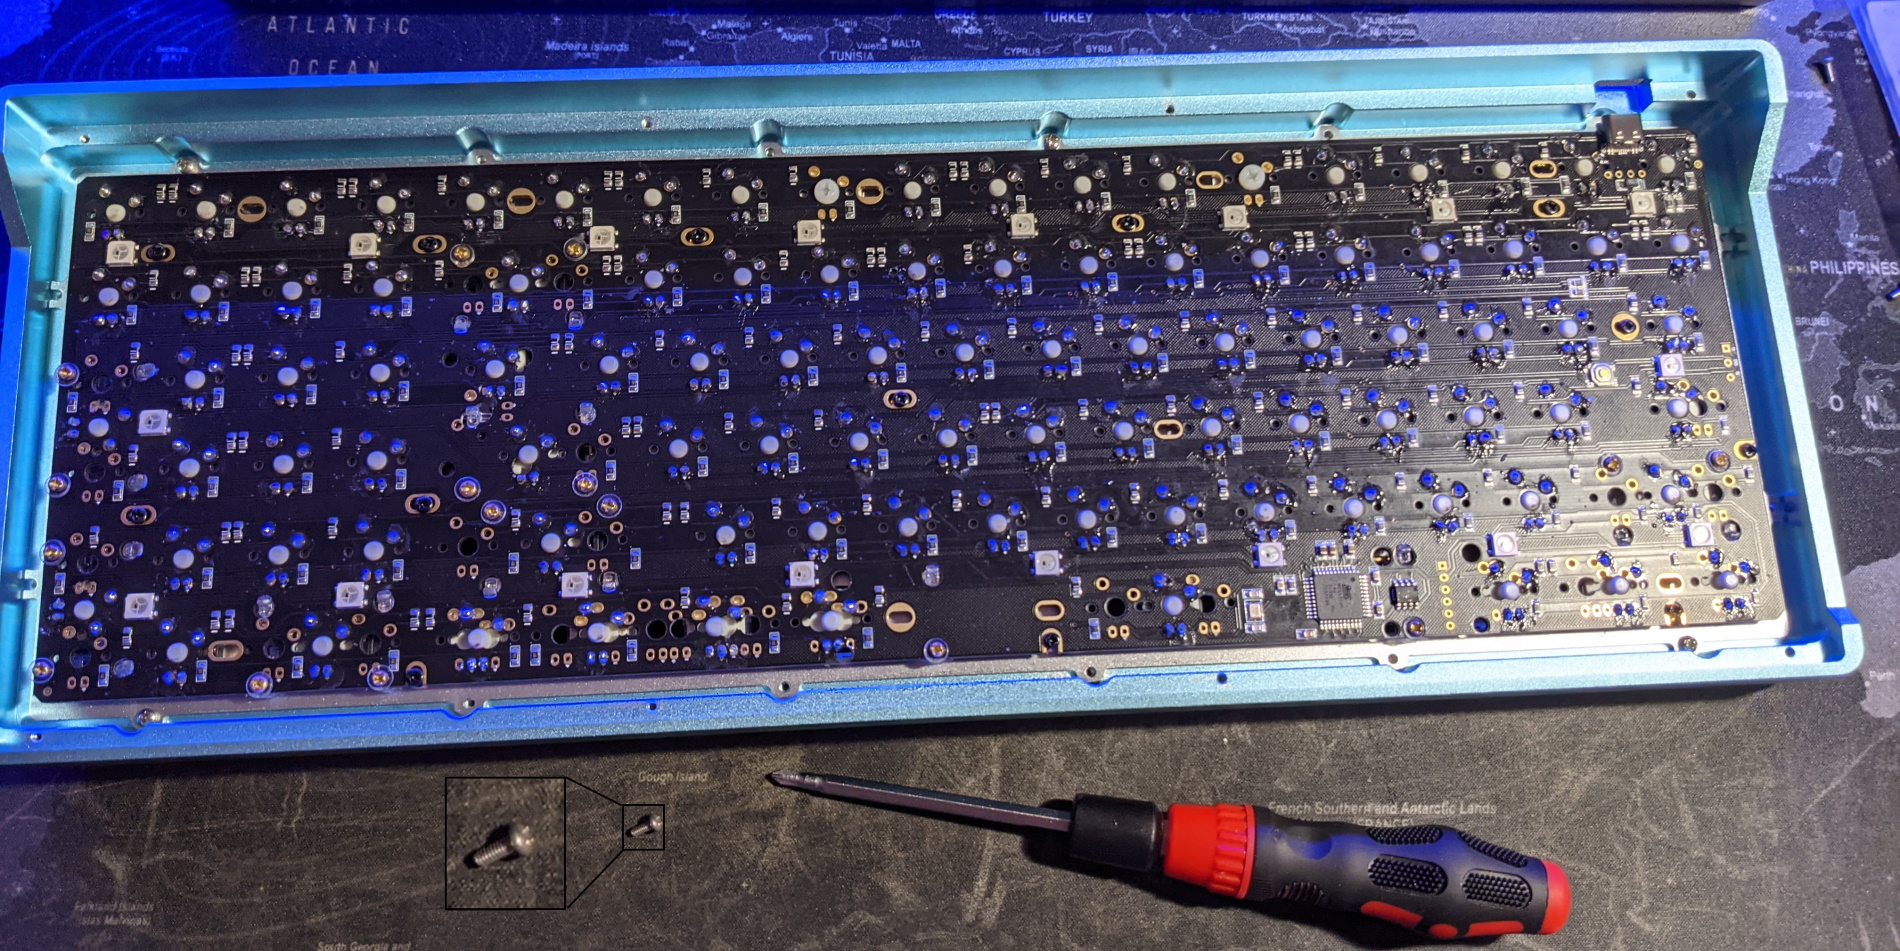
Putting the keyboard in the case.
Next up I screwed the bottom acrylic plate on with the countersunk screws, the keyboard feels surprisingly heavy.
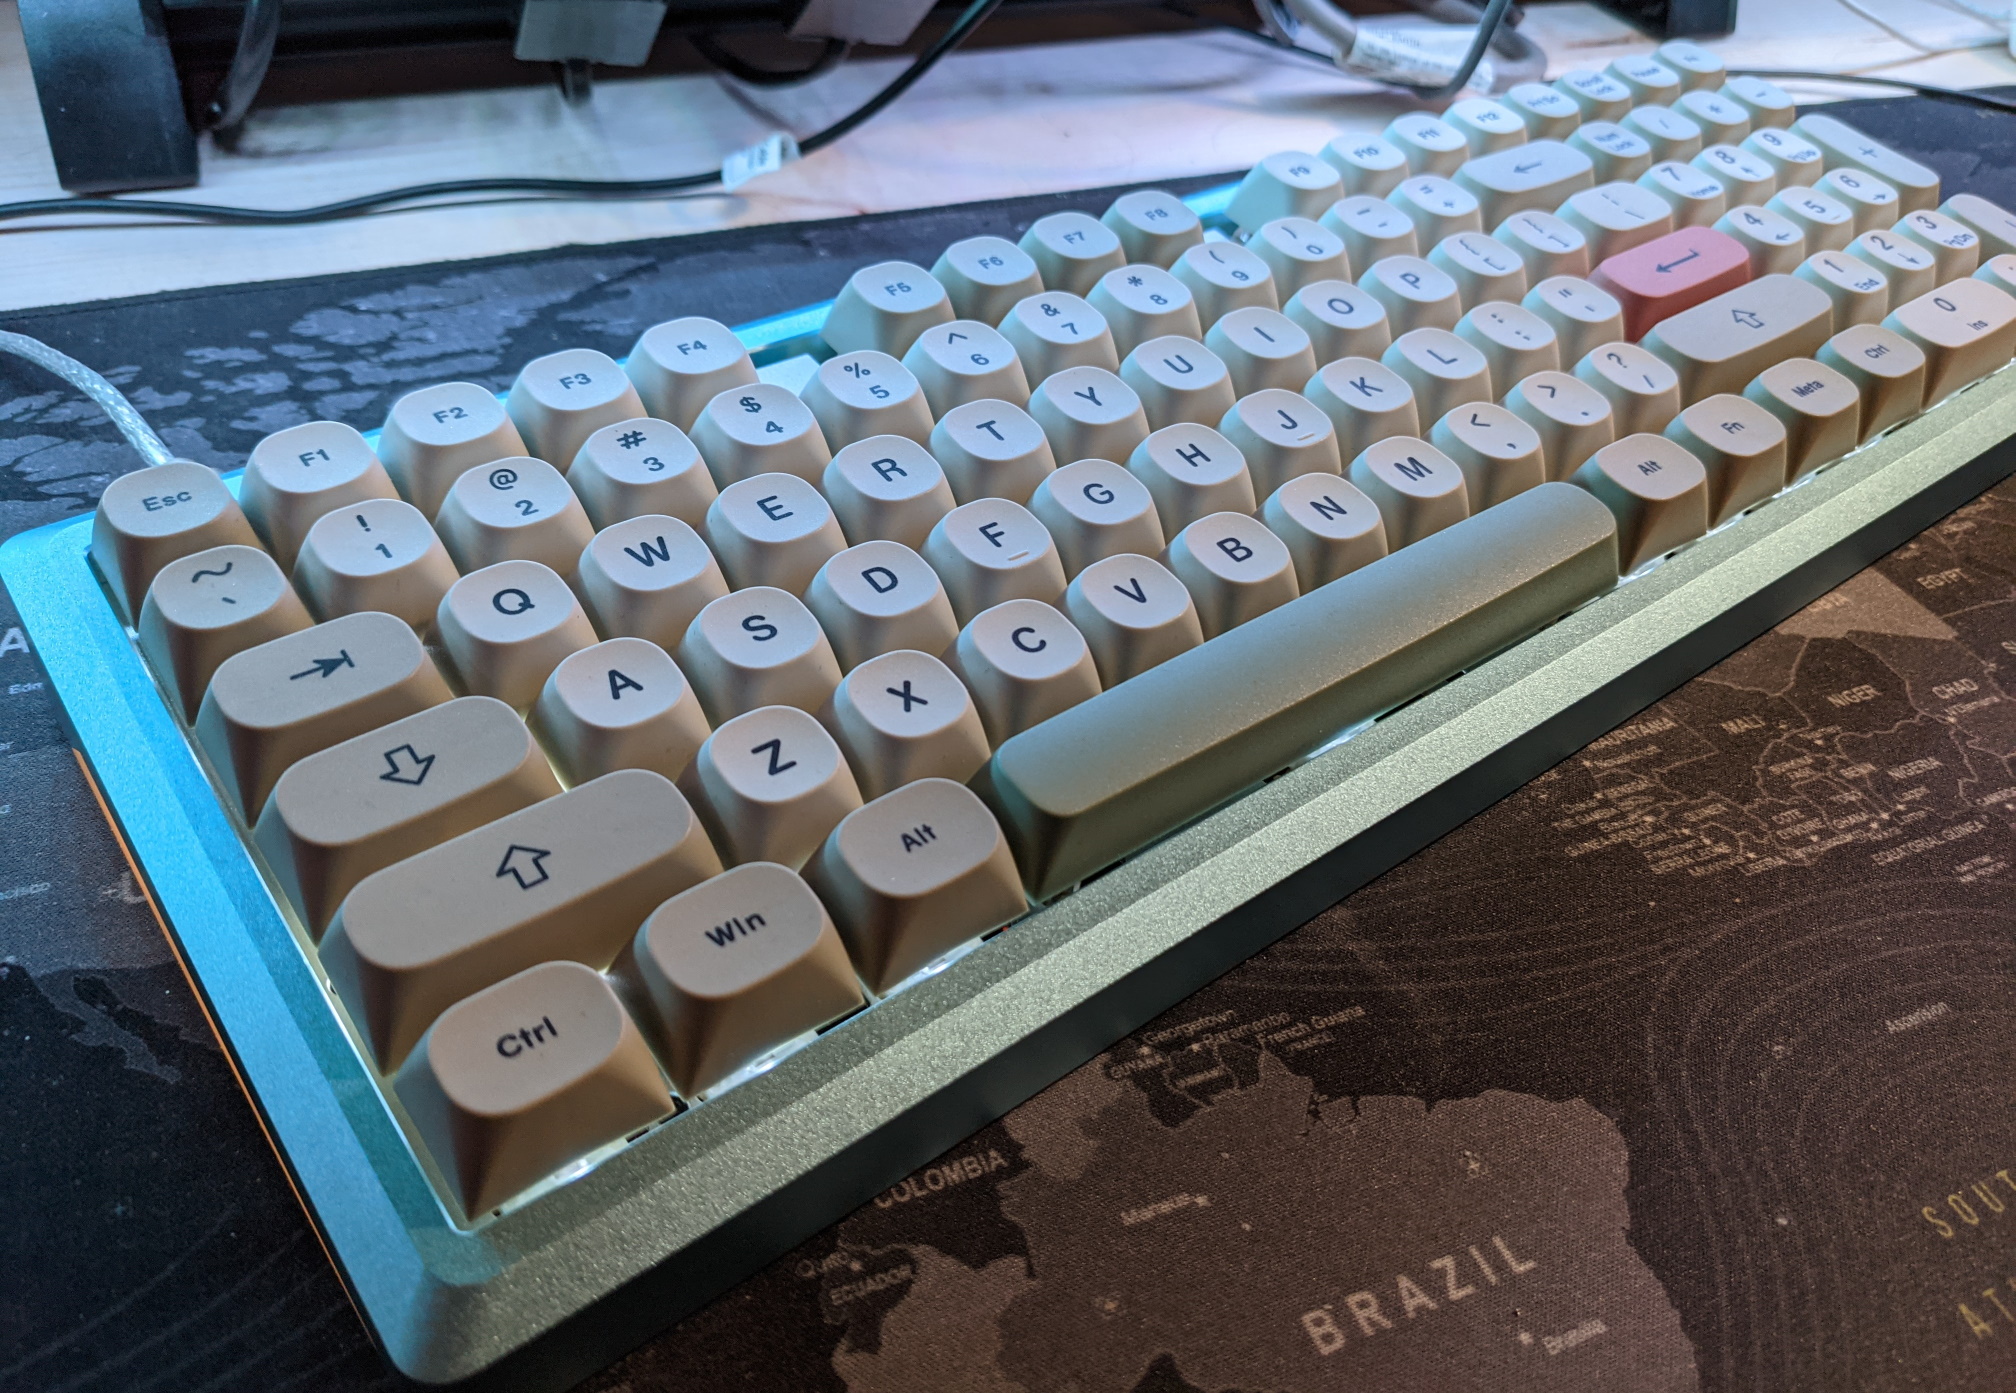
Finishing off with the key caps
Finally it’s time to put the key caps on. The observant might notice that += is upside down.
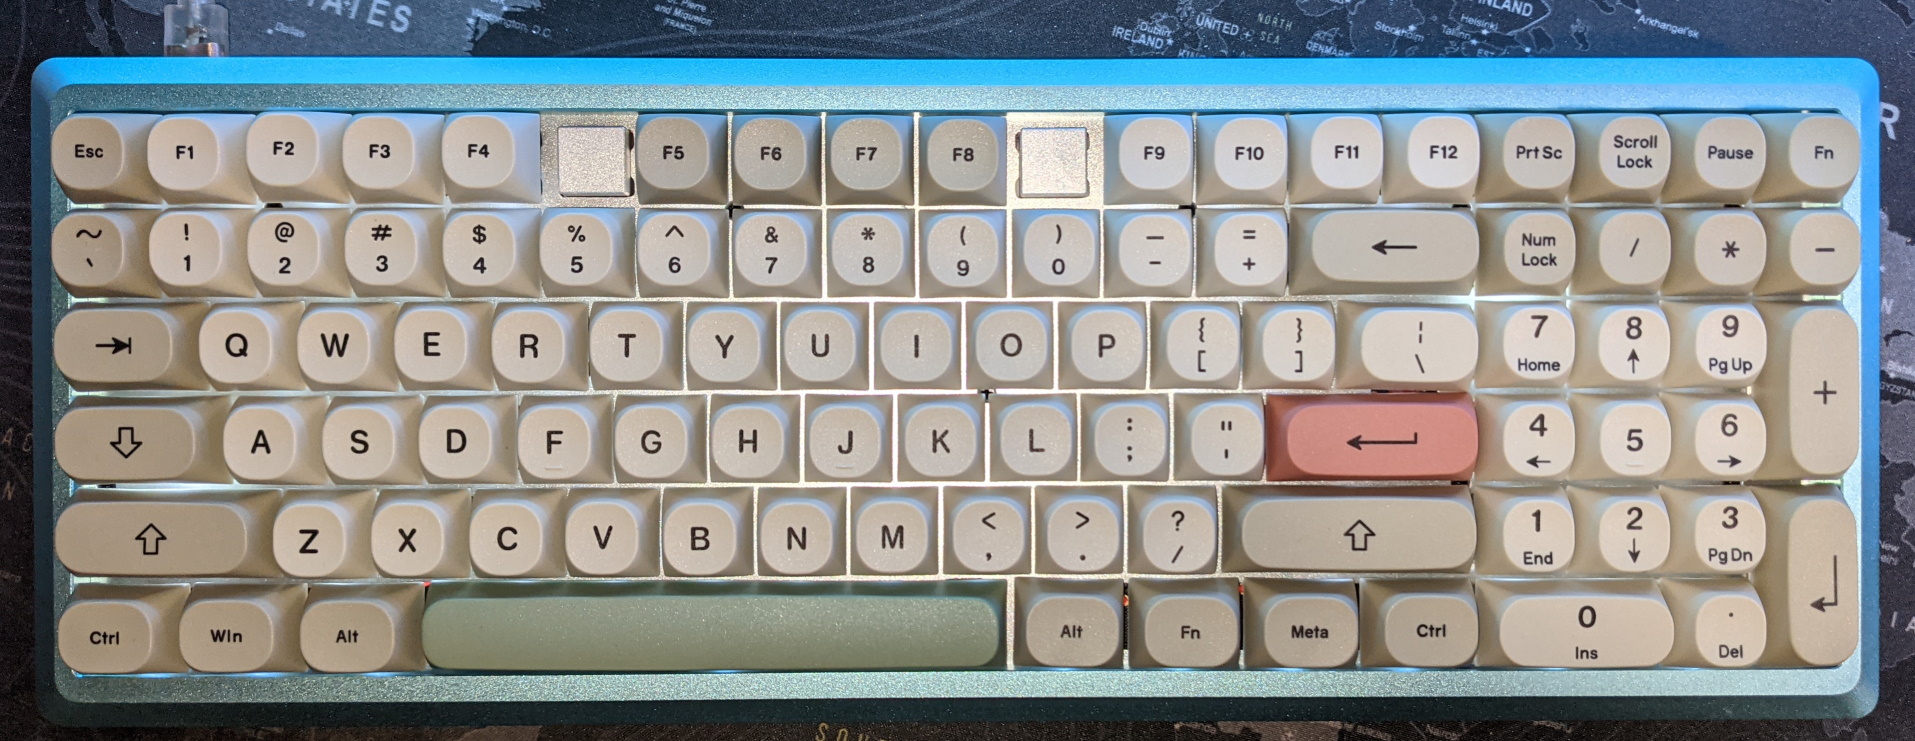
Key caps are on.
Now a “glamour” shot of the keyboard
Finished.
Final thoughts
It’s done. This has taken some time to finish I started on Monday 30th November and finished on Thursday 3rd December, the plate blockers arriving on the Wednesday just in time. I guess I probably spent around eight hours assembling and soldering with a lot of time getting the LEDs right.
The issues so far are:
Wake from sleep doesn’t work from the keyboard even after I swapped the USB port to the one that’s powered during sleep, probably going to do a bit digging on this in the qmk firmware.Wake from sleep works correctly once the keyboard is in the right USB port and wakeup is allowed from USB in the BIOS.- USB Device Viewer shows the manufacture as “qmkbuilder” with a product of “keyboard” I may tweak this a bit.
- LED backlight brightness could do with a few more stops, the brightness isn’t very smooth to the last stop.
- The Kailh gold switches are very light compared to the Model M (not a surprise) and I’m still getting used to them. In particular the space bar feels like it’s on a hair trigger, I’m thinking this is partly due to the weight of the space bar key cap.
- More typos, with the faster key switch action I’m making more typos, I suspect I used to nudge the keyboard a bit sub-consciously before I started typing to adjust it’s position but the Melody 96 is heavy and doesn’t move as easily. I’m expecting this to improve as I get used to the keyboard.
- There is a bit of stabilizer rattle particularly on the left shift key, so I’m going to try to add a bit of lube.
Compiling my own firmware will fix some of these and once I’ve got used to the keyboard the others will go away.
Installing the LEDs for the backlight was a pain, but the results are really worth it. With them on the keyboard positively sparkles. If I was doing it again I probably would go for the led sockets which also lets you swap the LEDs afterwards.
I’m certainly thinking of doing it again.